From the Frunk: Hidden Features
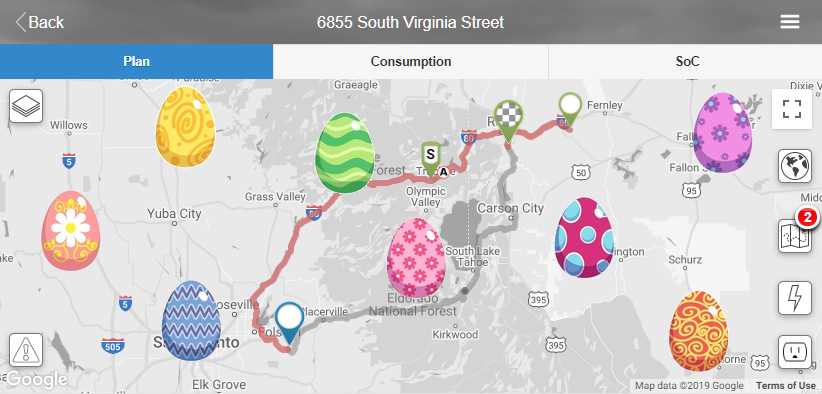
EVTO Easter Eggs and Hidden Features
The non obvious features of EVTO
The Big Picture
There are a number of hidden or non obvious features embedded within EVTO. While these are all mentioned within the help pages sometimes they are so subtle, they are overlooked. This page will call out each of these more obtuse features that you may find useful in fine tuning your trip planning or perhaps just enjoying looking behind the curtain a bit.
Map Icons
Tesla Chargers Icon
Selecting the Tesla Chargers icon will display the Tesla chargers on the map. A long press of the Tesla Chargers icon will display the Charger Filter dialog.
Other Chargers Icon
Selecting the Other Chargers icon will display the non Tesla chargers on the map. A long press of the Other Chargers icon will display the Charger Filter dialog.
Google Maps POI Icons
Selecting a Google Maps POI icon will result in EVTO displaying the Add Waypoint dialog with the POI name and address pre filled for you. You can also select the Google button prior to saving and have EVTO load Google Maps on your device with the POI selected. In this way you can review the details of the POI such as hours, busy times, web link, features and ratings.
Segment Browser Icon
Selecting the Segment Browser icon will display the Segment Browser dialog. A long press of the Segment Browser icon will display the Edit Segment Details dialog.
Trip Browser Icon
Selecting the Trip Browser icon will display the Trip Browser dialog. A long press of the Trip Browser icon will display the Edit Trip Details dialog.

The Globe Icon
A press of the Globe icon will zoom the map until the current segment is shown fully. A long press of the globe icon will zoom the map so the entire trip is shown.
Consumption Tab
Dotted Line
Touch the dotted line and you will get a popup of the Average Energy Consumption.
Graph
If you touch anywhere on the graph you will get a popup with that locations specific engery consumption.
Solid Line
Touch the solid line and you will get a popup of the Rated Energy Consumption.
Swipe Left/Right
Swiping left of right will take you to the prior/next segment if you are planning a multi-segment trip.
Waypoint Title
If you touch the waypoint title in the Consumption tab, you will get a popup window with the full name.
SoC Tab
Dotted Vertical Line
Touch the dotted vertical line and you will get a popup of the origin or destination name.
Graph
If you touch anywhere on the graph you will get a popup with that locations specific remaining SoC.
Swipe Left/Right
Swiping left of right will take you to the prior/next segment if you are planning a multi-segment trip.
Waypoint Title
If you touch the waypoint title in the Consumption tab, you will get a popup window with the full name.
Waypoint Inspector
Battery Icon
Touch the battery icon on the Waypoint Inspector to bring up the Actual WP Data dialog.
A long touch on a supercharger waypoint will show a rate of charge graph.

Weather Icon
Touch the weather icon on the Waypoint Inspector to bring up the 3 Hour Weather dialog.
Did we uncover some hidden gems? Got an idea for a tutorial? Let us know!